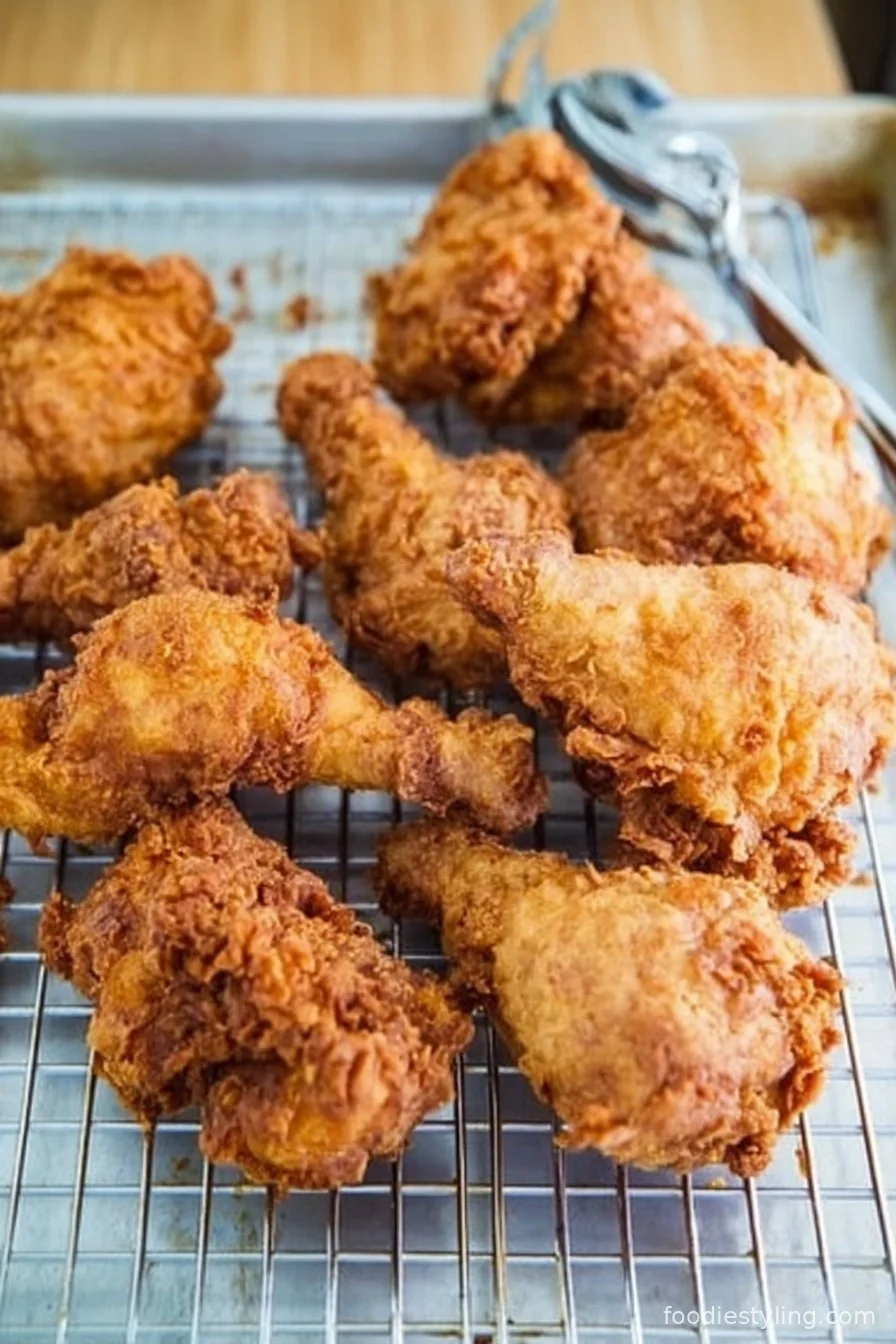
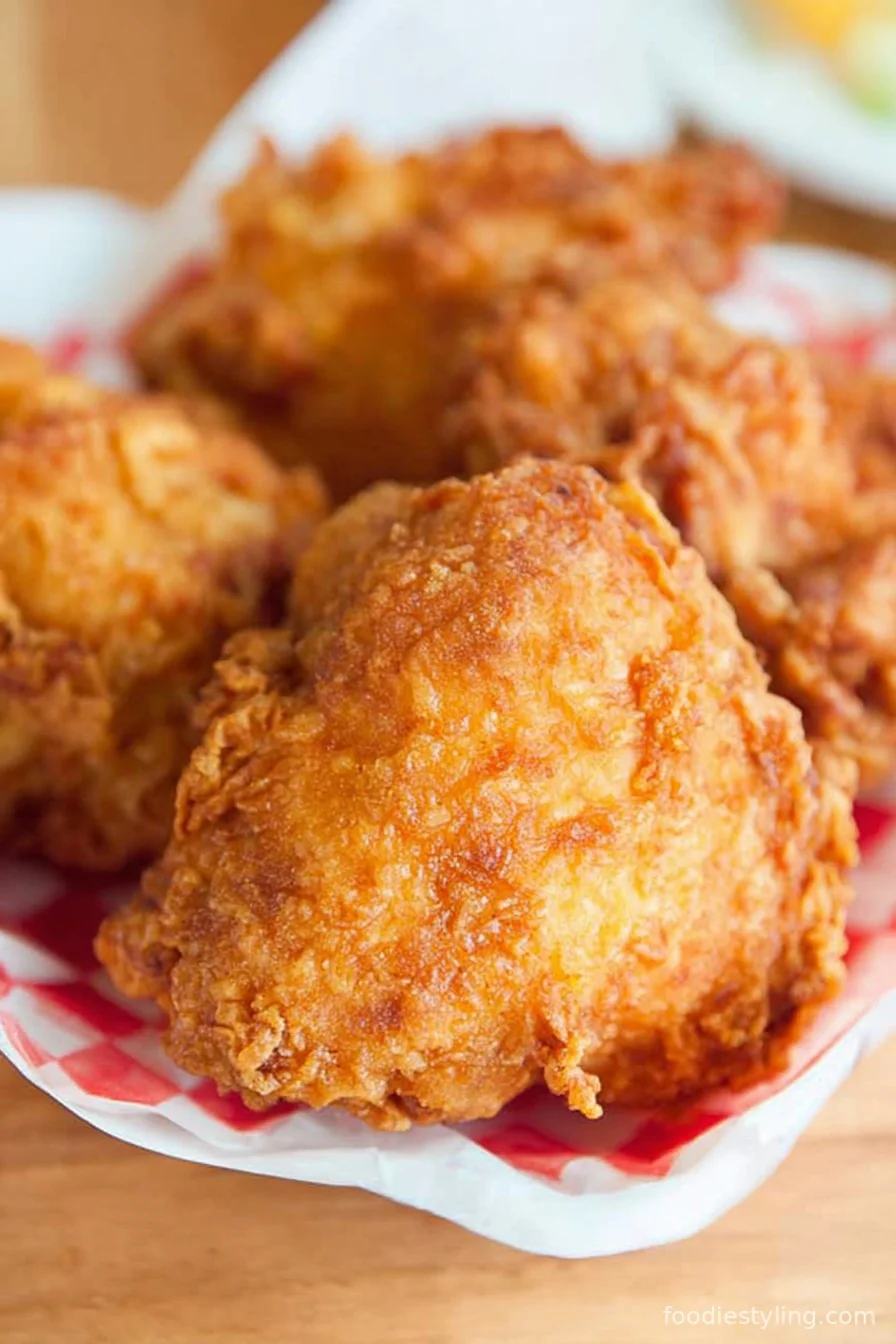
What if I told you that the secret to the crispiest, juiciest, absolutely dreamy fried chicken is already in your fridge? This Buttermilk Fried Chicken is everything you crave: golden brown crunch on the outside, tender and flavorful on the inside, kissed with classic Southern spice.
Whether you’re craving a nostalgic comfort meal or looking to wow a hungry crowd, this simple recipe never disappoints. Marinating the chicken in tangy buttermilk guarantees melt-in-your-mouth results, while the well-spiced coating makes every bite an experience.
It’s a must-try for Sunday suppers, summer picnics, or anytime you want an easy, show-stopping main dish. Growing up, fried chicken was the centerpiece of our family gatheringsâ€â€and this version is my tried-and-true favorite. You’ll want to lick your fingers, and maybe even the plate!
Why You'll Love This Recipe
- Ultra-crispy crust with irresistible flavor in every bite
- Juicy, tender meat thanks to the buttermilk marinade
- Easy ingredients and no special equipment needed
- Perfect for gatherings, picnics, or a hearty family dinner
Key Ingredients for Buttermilk Fried Chicken
See recipe card below for full list of measurements, ingredients, and instructions.Buttermilk
Buttermilk is the real MVP hereâ€â€it’s what gives the chicken its signature moistness and subtle tang. The acidity in buttermilk not only tenderizes the meat but also helps the coating stick for that crave-worthy crunch. If you don’t have buttermilk, you can use regular milk mixed with a tablespoon of lemon juice or white vinegar as a handy substitute.
Chicken Pieces
You can use a whole chicken cut into pieces or just your favoritesâ€â€drumsticks and thighs offer extra juiciness, but breasts and wings work great too. Aim for bone-in, skin-on pieces for maximum flavor and crispiness. If you prefer, boneless cuts are an option, but they’ll cook a bit faster and may be less juicy.
All-Purpose Flour
Flour is the foundation of that crackling crust. For best results, use regular all-purpose flour and season it generously. A little cornstarch mixed in makes an even lighter, crispier coating. Feel free to swap in some whole wheat flour for a nuttier taste, but it will be a bit denser.
Seasonings
A good spiced flour mix transforms basic fried chicken into something unforgettable. Paprika, garlic powder, onion powder, cayenne, black pepperâ€â€these add depth and Southern flair. Like it spicy? Go heavier on the cayenne or add a pinch of chili powder. Prefer herbs? Toss in some dried thyme or oregano.
Oil for Frying
Choose a high-heat oil like peanut, canola, or vegetable oil for frying. These oils ensure a golden, crispy finish without any weird flavors. Avoid olive oil, which has a lower smoke point and can burn more quickly.
Instructions for Buttermilk Fried Chicken
See recipe card below for full list of measurements, ingredients, and instructions.Marinate the Chicken
Pour the buttermilk into a large bowl. Add 1 teaspoon salt and ½ teaspoon black pepper, stirring to combine. Add the chicken pieces, making sure they’re well coated.
Cover and refrigerate for at least 2 hours or, for best results, overnight. The longer the chicken soaks, the more flavorful and tender it gets.
Prepare the Dredging Station
In a shallow dish, whisk together the flour, cornstarch, paprika, garlic powder, onion powder, cayenne (if using), baking powder, and the remaining salt and black pepper.
Set a wire rack over a large baking sheet for the coated chicken pieces.
Coat the Chicken
Remove chicken from the buttermilk, letting any excess drip off. Dredge each piece thoroughly in the seasoned flour mixture, pressing to adhere and making sure every nook and cranny is covered.
Set the coated chicken on the wire rack and let it rest for 10 to 15 minutesâ€â€this helps the coating “set” for extra crunch.
Heat the Oil
Pour oil into a large, deep skillet or Dutch oven to a depth of about 1 ½ inches. Heat the oil to 350 °F (175 °C) over medium-high heat. Use a thermometer to check the temperature for best results.
Fry the Chicken
Working in batches, gently lower a few pieces of chicken into the hot oilâ€â€don’t overcrowd the pan. Fry for 6-8 minutes per side, or until the crust is deep golden brown and the internal temperature reaches 165 °F (74 °C).
Transfer chicken to a clean wire rack set over paper towels to drain excess oil. Let rest for 5 minutes before serving for the juiciest results.
Recipe Variations
Spicy Nashville-Style
Craving serious heat? Brush the finished fried chicken with a spicy cayenne-infused oil or hot sauce for that bold Nashville kick. It’s perfect for heat seekers and will transform your meal into a fiery feast.
Gluten-Free Version
To make this recipe gluten-free, simply substitute the all-purpose flour for a cup-for-cup gluten-free baking flour and use cornstarch as directed. The texture remains delightfully crisp, and all your gluten-sensitive friends can join in the fun.
Oven-Fried Chicken
For a lighter take, arrange your dredged chicken pieces on a baking rack over a sheet pan, lightly spray with oil, and bake at 425 °F (218 °C) for 30-35 minutes, flipping halfway through. You’ll still get plenty of crunch without deep frying.
Buttermilk Chicken Tenders
Prefer boneless chicken? Use chicken tenders or sliced chicken breasts for bite-size, kid-friendly pieces. They fry up even fasterâ€â€just 3-4 minutes per side.
Serving Suggestions
Serve this crispy Buttermilk Fried Chicken with creamy coleslaw, buttery mashed potatoes, and warm buttermilk biscuits for a truly classic meal. Add sweet corn on the cob, tangy pickles, or a drizzle of hot honey if you’re feeling adventurous. Garnish with fresh parsley or a sprinkle of flaky sea salt just before serving for extra flavor and visual appeal.
Storage and Reheating
Store leftover fried chicken in an airtight container in the refrigerator for up to 3 days. For best results, reheat in a preheated 375 °F (190 °C) oven for 10-15 minutes until hot and crispy againâ€â€avoid microwaving, which will soften the crust. Fried chicken can also be frozen for up to 2 months; reheat from frozen in the oven for 25-30 minutes.
Frequently Asked Questions About Buttermilk Fried Chicken (FAQ)
Q: Can I use boneless chicken for this recipe?A: Absolutely! Boneless thighs or breasts work well and cook even faster. Just reduce frying time to 4-6 minutes per side and be sure not to overcook.
Q: Do I need a deep fryer?A: No special equipment is neededâ€â€a large, deep skillet or Dutch oven filled with oil works perfectly. Just make sure the oil is at 350 °F for best results.
Q: How do I keep the coating from falling off?A: Letting the coated chicken rest on a rack before frying helps the flour adhere. Gentle handling and not overcrowding the pan also prevent the crust from slipping off.
This Buttermilk Fried Chicken is truly comfort food at its bestâ€â€crispy, juicy, and bursting with flavor. I hope it becomes as much of a staple in your home as it is in mine. Give it a try, and don’t forget to leave a comment or a rating to let me know how it turned out!
Ingredients
- 3 lbs chicken pieces (drumsticks, thighs, breasts, wings), bone-in, skin-on
- 2 cups buttermilk
- 2 teaspoons salt, divided
- 1 ½ teaspoons black pepper, divided
- 2 cups all-purpose flour
- ¼ cup cornstarch
- 1 tablespoon paprika
- 2 teaspoons garlic powder
- 1 ½ teaspoons onion powder
- ½ teaspoon cayenne pepper (optional, for heat)
- 2 teaspoons baking powder
- Oil, for frying (peanut, canola, or vegetable)
Instructions
-
1In a large bowl, whisk together buttermilk, 1 teaspoon salt, and ½ teaspoon black pepper. Add chicken pieces and coat well. Cover and refrigerate for at least 2 hours or up to overnight.
-
2In a shallow dish, combine flour, cornstarch, paprika, garlic powder, onion powder, cayenne, baking powder, remaining salt, and remaining black pepper.
-
3Remove chicken from the marinade, letting excess buttermilk drip off. Dredge thoroughly in the flour mixture, pressing to adhere. Set on a wire rack and let rest for 10-15 minutes.
-
4Heat oil to 350 °F (175 °C) in a deep skillet or Dutch oven, filling to about 1 ½ inches deep.
-
5Fry chicken in batches, 6-8 minutes per side, until golden brown, crispy, and cooked through (165 °F/74 °C inside). Adjust heat as needed to keep oil temperature steady.
-
6Drain on a wire rack set over paper towels. Let rest a few minutes and serve hot!
Approximate Information for One Serving
Nutrition Disclaimers
Number of total servings shown is approximate. Actual number of servings will depend on your preferred portion sizes.
Nutritional values shown are general guidelines and reflect information for 1 serving using the ingredients listed, not including any optional ingredients. Actual macros may vary slightly depending on specific brands and types of ingredients used.
Did you make this recipe?
Please consider Pinning it!!