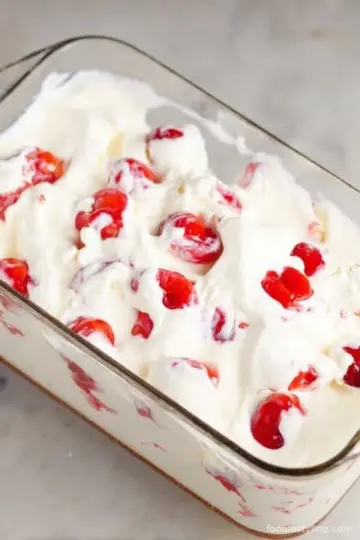
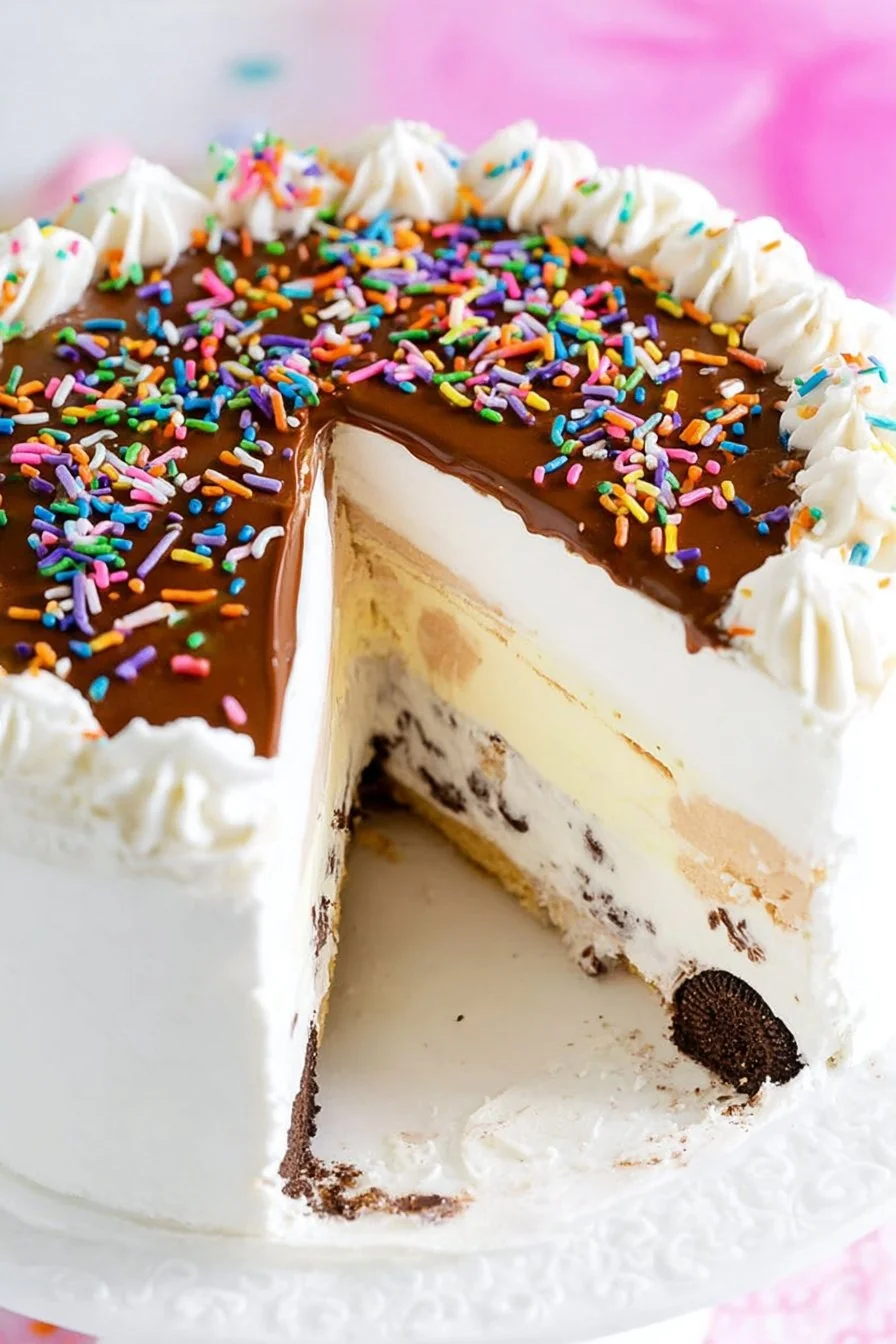
If you love the magic of a Dairy Queen treat, this homemade Copycat Dairy Queen Ice Cream Cake is absolutely dreamy! Imagine creamy layers of vanilla and chocolate ice cream, a thick ribbon of fudgy chocolate sauce, and those signature crunchy chocolate bitsâ€â€all finished with a cloud of whipped cream.
This cake is rich, cool, and totally irresistible. The best part? You can make it at home with simple ingredients and a little bit of patience. It’s a showstopper for birthdays, summer barbecues, or anytime you want to treat yourself or someone special.
Inspired by childhood celebrations, this cake brings nostalgic flavors to your own kitchen. You’ll be amazed at how deliciousâ€â€and easyâ€â€it is!
Why You'll Love This Recipe
- Brings nostalgic Dairy Queen flavors right to your kitchen.
- Perfect make-ahead dessert for parties or special occasions.
- Customizable with your favorite ice cream flavors and toppings.
- No baking requiredâ€â€just assemble and freeze!
Key Ingredients for Copycat Dairy Queen Ice Cream Cake
See recipe card below for full list of measurements, ingredients, and instructions.Chocolate Sandwich Cookies
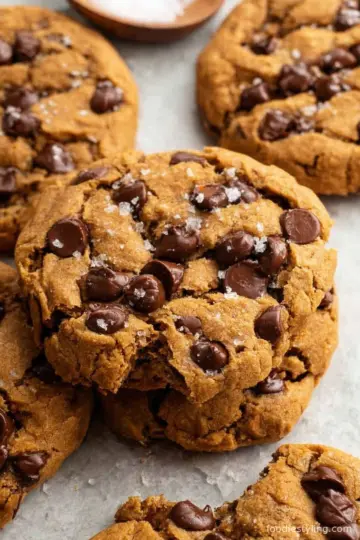
These classic cookies create the crave-worthy chocolate crunch layer in the center of the cake. Crush them into small pieces for the best texture. Use any brand of chocolate sandwich cookieâ€â€regular or double-stuffed both work well. You can also swap in gluten-free cookies if needed.
Fudge Sauce
The fudgy, gooey layer is essential for mimicking the Dairy Queen experience! Use a thick, high-quality store-bought hot fudge sauce, or make your own. Warm it slightly so it’s easy to spread, but not so hot that it melts the ice cream. You can substitute with a dairy-free fudge sauce if making a vegan version.
Vanilla & Chocolate Ice Cream
Classic vanilla and chocolate ice creams make up the base and top layers of the cake. Use full-fat, creamy ice cream for best results; budget brands can become icy. Feel free to experiment with other flavors like cookies and cream, mint chocolate chip, or peanut butter for a personal twist. Let the ice cream soften at room temperature for easy spreading.
Whipped Topping
A light, fluffy whipped topping (like Cool Whip or your favorite non-dairy alternative) gives the cake its signature smooth finish. Pipe or spread it on top for that classic look. You can whip heavy cream with a bit of sugar if you prefer homemade.
Sprinkles
Colorful sprinkles make this cake instantly festive! Use rainbow, chocolate, or any themed sprinkles to match your celebration. They add a fun pop of color and texture.
Instructions for Copycat Dairy Queen Ice Cream Cake
See recipe card below for full list of measurements, ingredients, and instructions.Prepare the Pan
Line a 9-inch springform pan or deep cake pan with parchment paper on the bottom and sides. This will make it much easier to unmold the cake later. If you don’t have a springform pan, you can use a regular 9-inch cake pan and lift the cake out with the parchment overhang.
Make the Cookie Crunch Layer
Place the crushed chocolate sandwich cookies in a medium bowl. Add the melted butter and stir until the mixture resembles wet sand. This helps the crunch layer stick together when frozen.
Form the Chocolate Ice Cream Base
Scoop the softened chocolate ice cream into the prepared pan. Spread it evenly with a spatula to form a smooth base. Place the pan in the freezer for 30 minutes to firm up.
Add the Crunch and Fudge Layers
Remove the pan from the freezer. Evenly sprinkle the cookie crunch mixture over the chocolate ice cream, pressing gently to compact it slightly. Drizzle the warmed fudge sauce over the cookie layer, spreading it gently into an even layer. Freeze again for 30 minutes, until set.
Add the Vanilla Ice Cream Layer
Scoop the softened vanilla ice cream over the fudge and cookie layer. Smooth the top with a spatula. Freeze the assembled cake for at least 6 hours, or ideally overnight, until fully firm.
Top with Whipped Topping and Decorate
Remove the cake from the pan and transfer to a serving plate. Spread or pipe the whipped topping over the top and sides for a classic finish. Garnish with sprinkles, if desired. Freeze for another 30 minutes to set the topping before slicing.
Recipe Variations
Make It Gluten-Free
Use gluten-free chocolate sandwich cookies and double-check that your fudge sauce and ice cream are gluten-free. The results are just as delicious!
Fun Flavor Twists
Swap out the classic chocolate and vanilla for your favoritesâ€â€try cookies & cream, strawberry, mint chocolate chip, or even peanut butter ice cream to make it your own signature cake.
Vegan or Dairy-Free Option
Use your favorite non-dairy ice creams, a vegan whipped topping, and a dairy-free fudge sauce to make a version everyone can enjoy!
Add Mix-Ins or Layers
Layer in chopped candy bars, mini chocolate chips, or a swirl of caramel sauce with the ice cream for extra decadence and crunch.
Make Individual Servings
Prepare the cake in muffin tins lined with cupcake papers for adorable, single-serve ice cream cakesâ€â€perfect for parties and easy portion control!
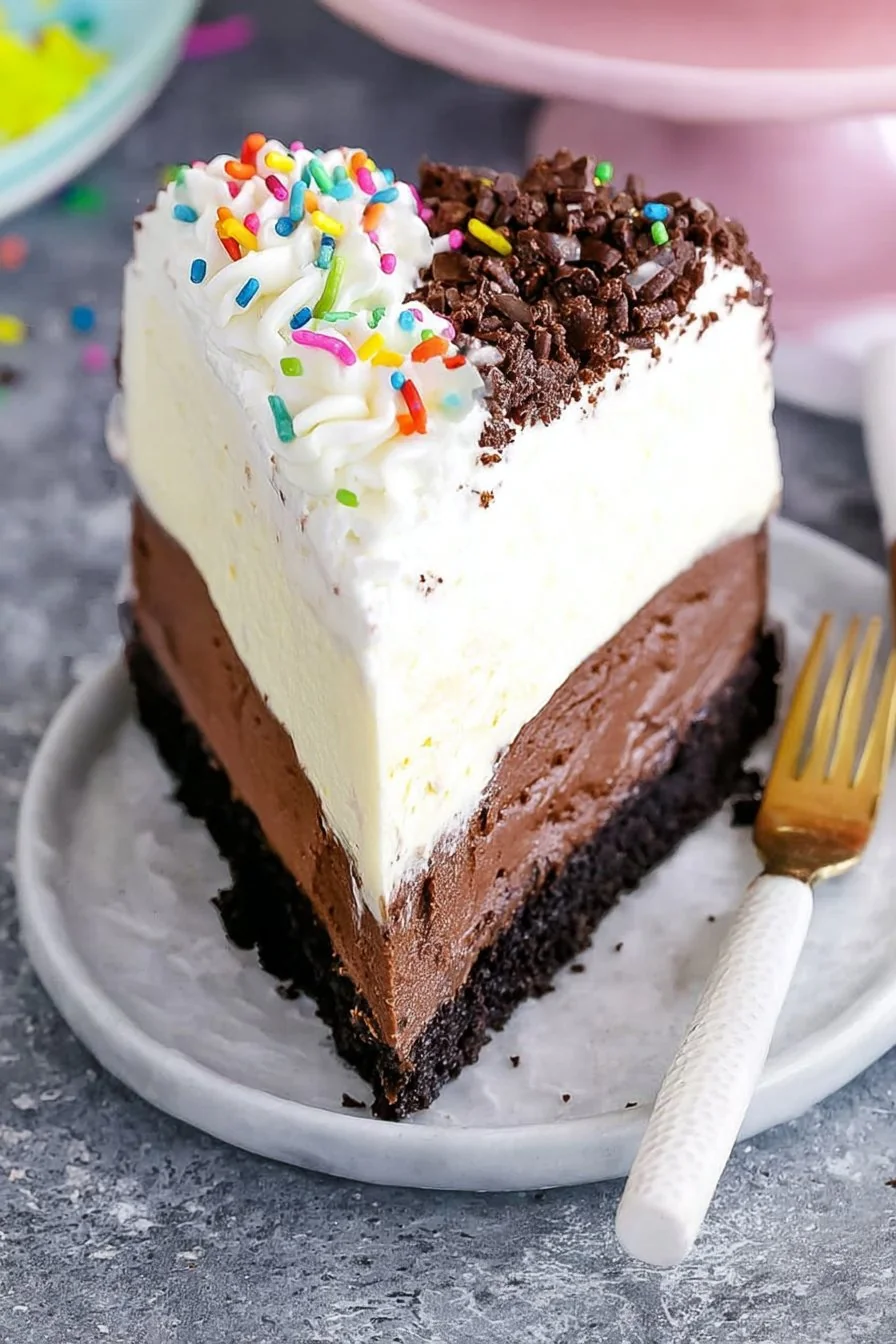
Serving Suggestions
Slice this Copycat Dairy Queen Ice Cream Cake with a hot knife for clean layers and serve immediately! Pair it with iced coffee or a tall glass of cold milk for a classic treat. For special occasions, add fresh berries or a drizzle of caramel sauce alongside each slice. A handful of extra sprinkles on the plate makes it even more festive.
Storage and Reheating
Keep leftover ice cream cake tightly wrapped or in an airtight container in the freezer for up to 1 week for best flavor and texture. If storing longer, wrap the cake in plastic wrap and then foil to prevent freezer burn. No reheating neededâ€â€just let the cake sit at room temperature for 5-10 minutes before slicing to make cutting easier. Freezing individual slices makes for a perfect grab-and-go treat!
Frequently Asked Questions About Copycat Dairy Queen Ice Cream Cake (FAQ)
Q: Can I make this cake ahead of time?A: Absolutely! This ice cream cake is perfect for making a day or two ahead. Just keep it well-wrapped in the freezer until ready to serve.
Q: How do I get clean slices when serving?A: Use a sharp knife dipped in hot water and wiped dry between slices. This helps cut through the layers cleanly without smearing.
Q: Can I use different flavors of ice cream?A: Yes! Feel free to customize with any ice cream flavors you love, or mix and match for a fun twist.
Q: Do I need a springform pan?A: A springform pan makes unmolding easier, but you can use a deep cake pan lined with parchment for easy lifting.
This Copycat Dairy Queen Ice Cream Cake is a total crowd-pleaserâ€â€cool, creamy, and packed with nostalgic flavor. Once you try it, you’ll want to make it for every special occasion! If you give it a try, let me know how it turns out in the comments below and don’t forget to leave a rating.
Ingredients
- 1.5 quarts vanilla ice cream, softened
- 1.5 quarts chocolate ice cream, softened
- 1 package (about 36) chocolate sandwich cookies, crushed
- ½ cup unsalted butter, melted
- 1 ½ cups hot fudge sauce (store-bought or homemade), slightly warmed
- 1 (8-ounce) tub whipped topping (like Cool Whip), thawed
- ¼ cup colorful sprinkles (optional)
Instructions
-
1Line a 9-inch springform pan with parchment paper on the bottom and sides.
-
2Mix crushed chocolate sandwich cookies with melted butter until combined.
-
3Spread chocolate ice cream in the bottom of the pan. Freeze for 30 minutes.
-
4Scatter the cookie mixture evenly over the chocolate ice cream. Press gently.
-
5Drizzle and spread the fudge sauce over the cookie layer. Freeze for another 30 minutes.
-
6Spread vanilla ice cream evenly over the fudge and cookie layer. Smooth the top.
-
7Freeze cake for at least 6 hours, preferably overnight, until very firm.
-
8Remove cake from pan, then cover top and sides with whipped topping.
-
9Decorate with sprinkles as desired. Freeze for 30 more minutes before serving.
Approximate Information for One Serving
Nutrition Disclaimers
Number of total servings shown is approximate. Actual number of servings will depend on your preferred portion sizes.
Nutritional values shown are general guidelines and reflect information for 1 serving using the ingredients listed, not including any optional ingredients. Actual macros may vary slightly depending on specific brands and types of ingredients used.
Did you make this recipe?
Please consider Pinning it!!