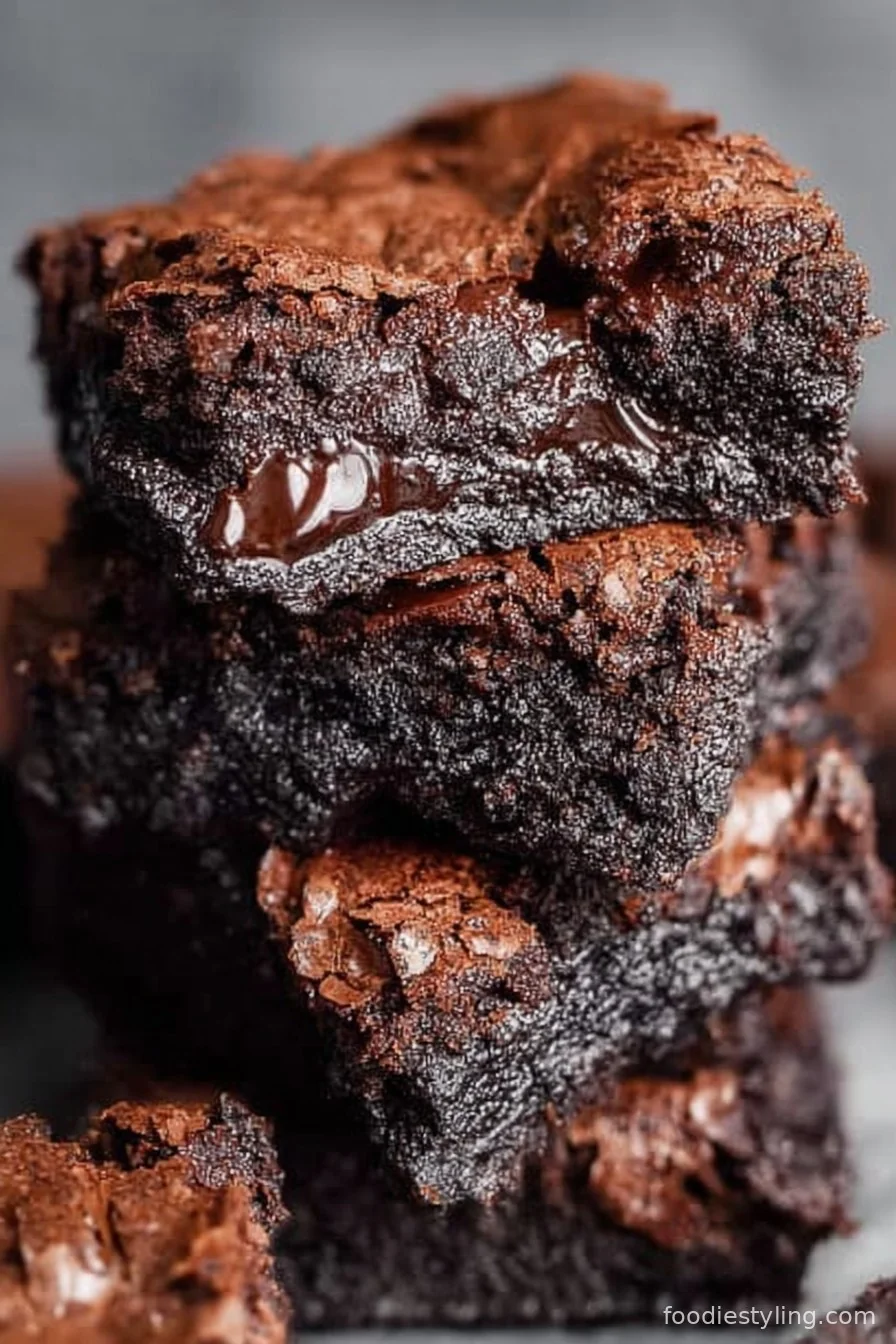
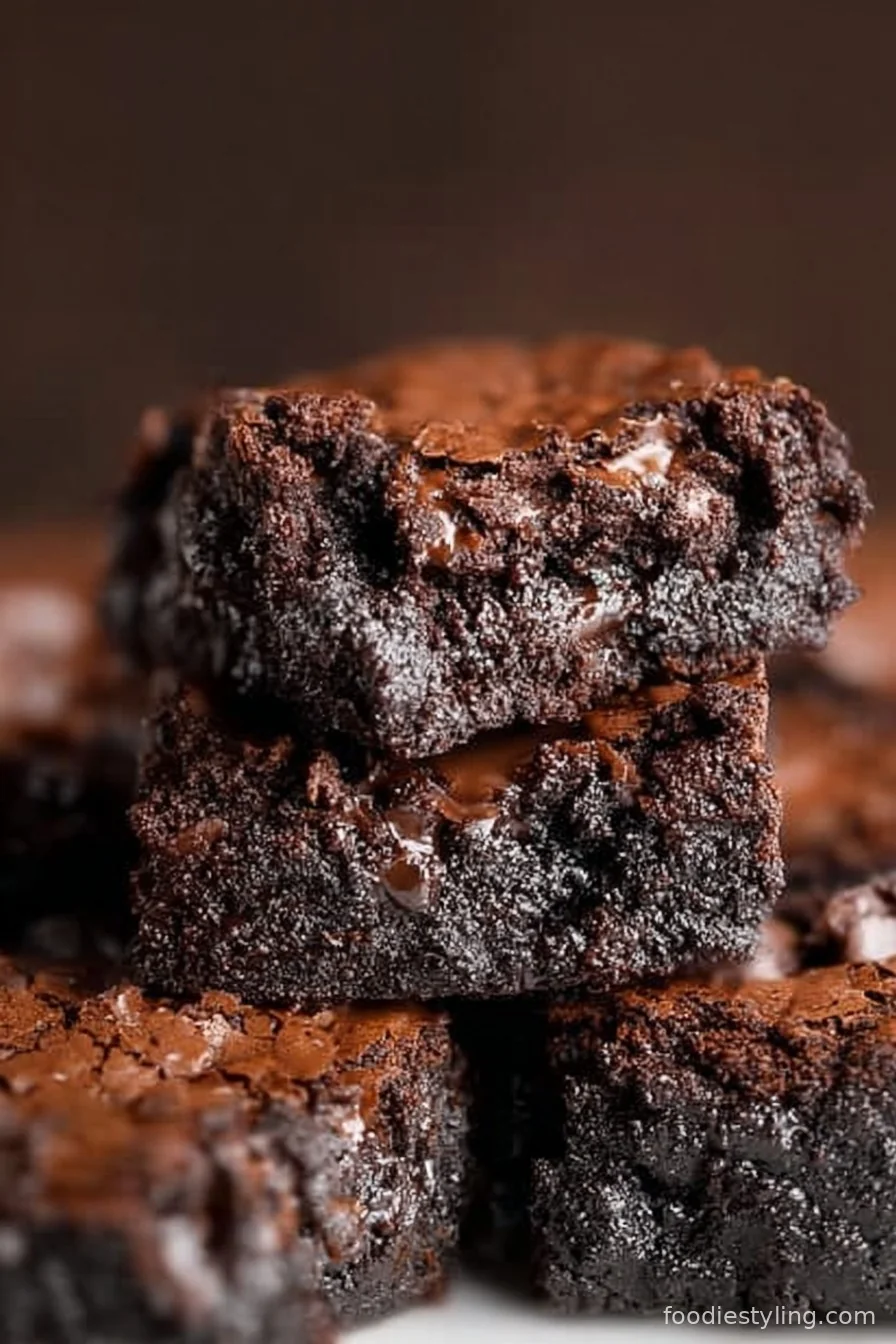
These Fudgy Cocoa Brownies are absolutely dreamyâ€â€dense, rich, and packed with deep chocolate flavor that melts in every bite. With chewy centers and those signature crinkly tops, they’re everything a brownie enthusiast craves, made super simple with no fancy ingredients. Just a bowl, a whisk, and a big dose of tried-and-true deliciousness!
The best part? These brownies come together quickly with pantry staples, making them perfect for last-minute dessert cravings or unexpected guests. Whether you want a simple weeknight treat, a showstopper for a party, or something for the kids’ lunchbox, these brownies never disappoint.
This recipe comes straight from my childhood baking memoriesâ€â€shared at sleepovers, family picnics, or sneaked fresh from the pan while still warm. If you’re on a quest for the ultimate fudgy brownie that’s easy enough for any night, look no further!
Why You'll Love This Recipe
- Irresistibly fudgy texture – Every bite is dense, chewy, and rich with chocolate.
- Quick & easy – Simple steps and minimal equipment mean brownies are ready fast.
- Pantry-friendly ingredients – No need for baking chocolate; just cocoa powder and common staples.
- Crinkle-top magic – Achieve that bakery-style crackle on top without fuss.
Key Ingredients for Fudgy Cocoa Brownies
See recipe card below for full list of measurements, ingredients, and instructions.Unsweetened Cocoa Powder
This is the star of the show, providing deep, rich chocolate flavor without the need for expensive baking chocolate. Use natural or Dutch-processed cocoaâ€â€either work, but Dutch will give a deeper color and smoother flavor. For best results, choose a high-quality brand, as the cocoa truly shines here. If you're feeling bold, substitute with dark cocoa powder for extra intensity.
Melted Butter
Butter gives these brownies their luscious, fudgy texture and buttery undertones. Always melt the butter completelyâ€â€this helps the brownies stay dense and chewy. If using salted butter, simply reduce the added salt in the recipe by half. Dairy-free? Substitute with melted coconut oil, though it will slightly change the flavor.
Granulated Sugar
Granulated sugar not only sweetens but helps create the crackly tops we all love. Feel free to swap in half brown sugar for some of the white to add even more moisture and a hint of caramel flavor, but don’t replace it entirely as it may compromise the shiny tops.
Large Eggs
Eggs bind everything together and add to that rich, creamy texture. Room temperature eggs work best, whisking in easily and helping to create enough lift. If you’re baking for an egg-free crowd, try flax eggs, though your brownies may turn out a bit denser.
All-Purpose Flour
Just a small amount is needed to hold the brownies togetherâ€â€too much will make them cakey, so measure carefully! You can use a high-quality gluten-free flour blend in a 1:1 ratio for gluten-free brownies, though texture may differ slightly.
Instructions for Fudgy Cocoa Brownies
See recipe card below for full list of measurements, ingredients, and instructions.Prep the Pan & Heat the Oven
Start by preheating your oven to 350 °F (175 °C). Line an 8x8-inch (20x20cm) baking pan with parchment paper, leaving an overhang for easy removal. Lightly grease the sides for extra insurance against sticking.
Make the Batter
In a large mixing bowl, whisk together the melted butter and sugar until the mixture looks glossy and thickâ€â€this helps create those signature shiny tops. Add the eggs and vanilla, whisking until smooth and well combined.
Mix in the Dry Ingredients
Sift in the cocoa powder, flour, and salt over the wet ingredients. Gently fold everything together using a spatula or wooden spoon. Stir just until you see no streaks of flourâ€â€overmixing can make brownies tough!
Add Chocolate Chips
Fold in the chocolate chips or chunks, if using. This step is optional but highly recommended for extra pockets of melty, gooey chocolate in every bite.
Bake to Fudgy Perfection
Pour the batter into your prepared pan, smoothing the top with a spatula. Bake on the center rack for 28-32 minutes, or until the edges are set and a toothpick inserted into the center comes out with a few moist crumbs (not wet batter).
Cool & Slice
Let the brownies cool completely in the panâ€â€this helps set the fudgy texture. Use the parchment overhang to lift out and transfer to a cutting board. Slice into 9 generous squares and enjoy!
Recipe Variations
Nutty Twist
Fold in ½ cup of toasted walnuts or pecans for a classic, crunchy finish. Nuts add gorgeous texture and balance the sweetness beautifully.
Gluten-Free Option
Swap the all-purpose flour for a 1:1 gluten-free baking blend. Your brownies will still be rich and deliciousâ€â€just expect a slightly different crumb!
Go Extra Dark
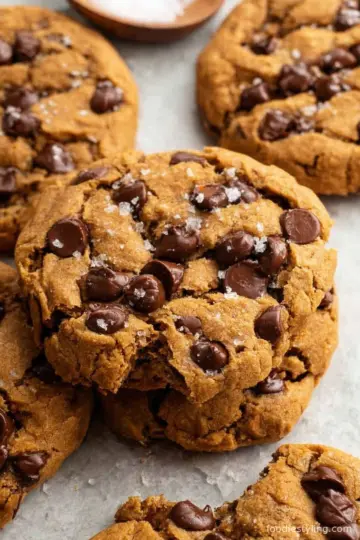
Use dark cocoa powder and dark chocolate chips for a more intense, sophisticated chocolate flavor. A sprinkle of flaky sea salt on top takes them over the edge!
Vegan Brownies
Replace the butter with melted coconut oil and use flax eggs (2 tablespoons ground flaxseed mixed with 5 tablespoons water) in place of eggs. The result may be a touch less chewy, but still decadent.
Swirl in Caramel or Peanut Butter
Drop spoonfuls of peanut butter or thick caramel onto the brownie batter and swirl with a knife before baking. It’s an easy way to add a fun, gourmet twist!
Serving Suggestions
These Fudgy Cocoa Brownies are irresistible on their own, but take them to the next level by serving warm with a scoop of vanilla ice cream or a dollop of whipped cream. For added flair, dust with a little cocoa powder, sprinkle with flaky sea salt, or top with fresh berries for a burst of color and flavor. Pair with a hot cup of coffee or cold glass of milk for true dessert bliss!
Storage and Reheating
Store leftover brownies in an airtight container at room temperature for up to 3 days, or refrigerate for up to 5 days. To reheat, warm individual squares in the microwave for 10-15 seconds until just gooey. Brownies freeze beautifullyâ€â€wrap tightly in plastic wrap and store in a freezer bag for up to 2 months. Thaw at room temperature before serving, or microwave briefly for that fresh-baked taste.
Frequently Asked Questions About Fudgy Cocoa Brownies (FAQ)
Q: Can I make these brownies without chocolate chips?A: Absolutely! The chocolate chips are optional, and you’ll still get deliciously fudgy browniesâ€â€just with a slightly lighter texture.
Q: How do I know when my brownies are done?A: For the fudgiest texture, pull them out when the edges are set and a toothpick in the center comes out with a few moist crumbs. Avoid overbaking, as this makes brownies cakey.
Q: Can I double the recipe for a bigger crowd?A: Yes! Double all ingredients and bake in a 9x13-inch pan. Watch the baking time; they may need up to 5 minutes longer.
Ready for chocolate bliss? These Fudgy Cocoa Brownies are sure to steal the show at any gatheringâ€â€or satisfy your late-night cravings. Give this recipe a try, and don’t forget to leave a comment or rating below. Happy baking!
Ingredients
- ½ cup (115g) unsalted butter, melted and slightly cooled
- 1 cup (200g) granulated sugar
- 2 large eggs, at room temperature
- 1 teaspoon pure vanilla extract
- ⅓ cup (35g) unsweetened cocoa powder (natural or Dutch-processed)
- ½ cup (65g) all-purpose flour
- ¼ teaspoon salt
- ½ cup (90g) chocolate chips or chunks (optional, for extra gooeyness)
Instructions
-
1Preheat oven to 350 °F (175 °C). Line an 8x8-inch baking pan with parchment paper and lightly grease.
-
2In a large bowl, whisk melted butter and sugar together until glossy and combined.
-
3Add in eggs and vanilla extract, whisking until fully incorporated.
-
4Sift in cocoa powder, flour, and salt. Gently fold until just combinedâ€â€do not overmix.
-
5Fold in chocolate chips or chunks, if using.
-
6Pour batter into prepared pan, smoothing the top.
-
7Bake for 28–32 minutes until edges are set and a toothpick comes out with a few moist crumbs.
-
8Cool completely in the pan, then lift out and cut into squares.
Approximate Information for One Serving
Nutrition Disclaimers
Number of total servings shown is approximate. Actual number of servings will depend on your preferred portion sizes.
Nutritional values shown are general guidelines and reflect information for 1 serving using the ingredients listed, not including any optional ingredients. Actual macros may vary slightly depending on specific brands and types of ingredients used.
Did you make this recipe?
Please consider Pinning it!!