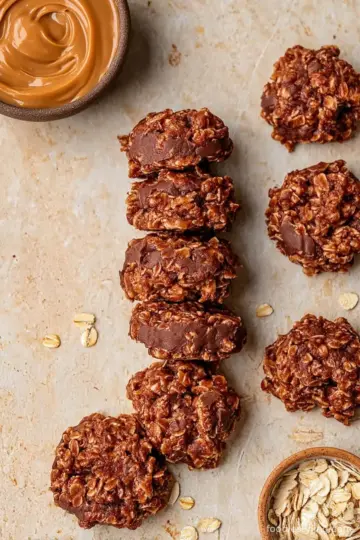
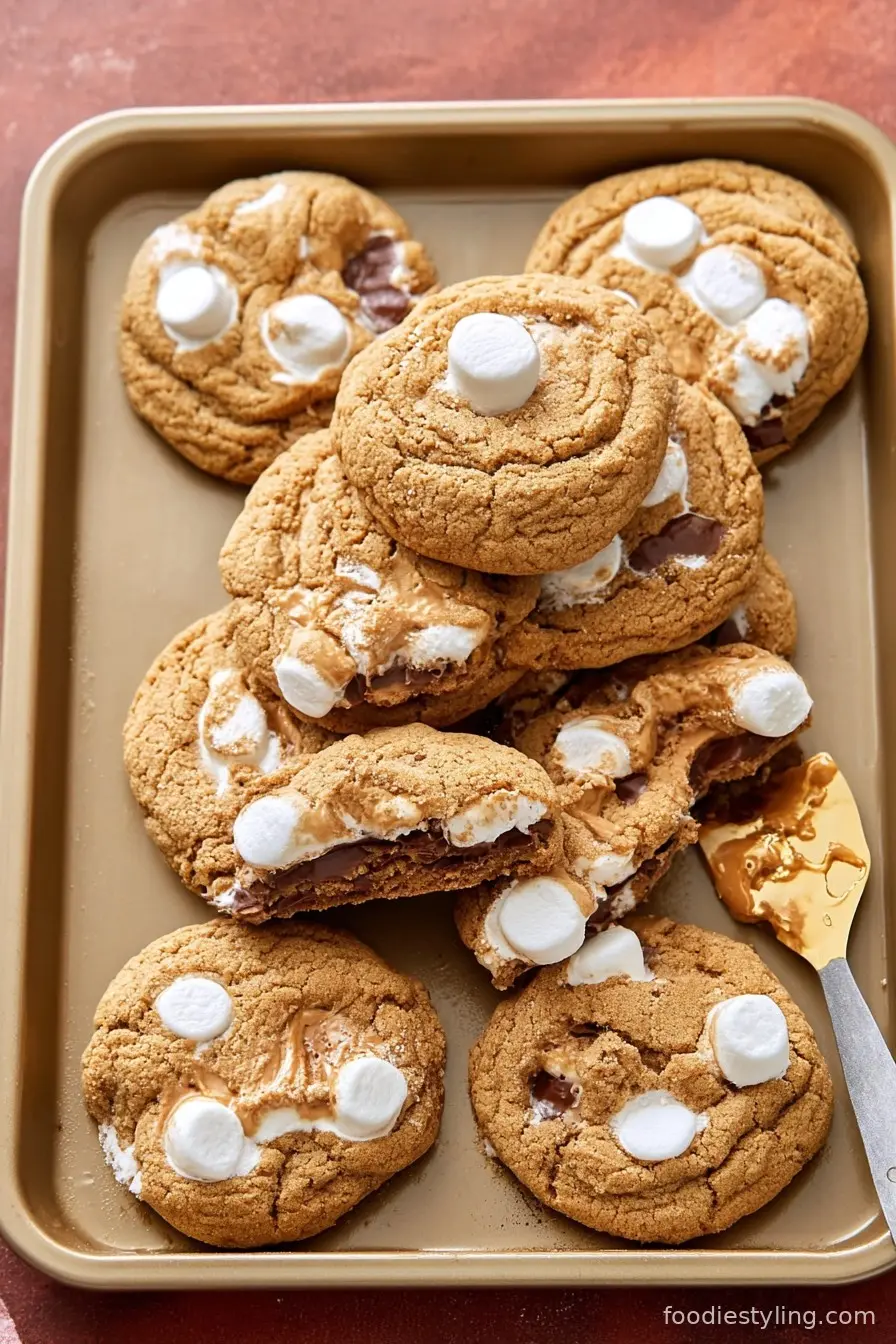
Gluten-free peanut butter marshmallow cookies bring together two beloved flavors—rich, creamy peanut butter and sweet, fluffy mini marshmallows—in a mouth-watering, bakery-quality treat that everyone can enjoy, regardless of dietary restrictions.
The popularity of gluten-free baking has soared in recent years, allowing more individuals with gluten sensitivities or celiac disease to indulge in classic favorites without compromise. Peanut butter has been a staple in cookie recipes for decades due to its wholesome taste, healthy fats, and naturally chewy texture.
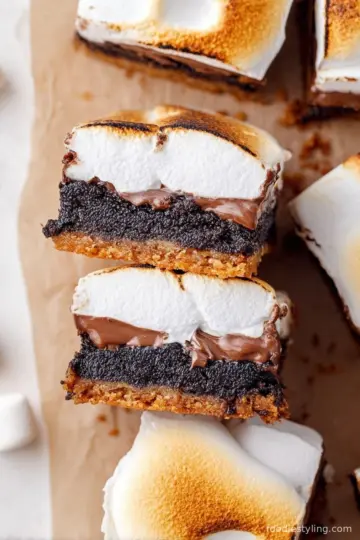
Marshmallows, dating back to ancient Egypt but popularized in modern confections in the 19th century, add a delightful gooey sweetness that’s hard to resist. This recipe was crafted for those who crave the nostalgic comfort of home-baked cookies with ingredients that are gluten-free by design.
Whether you’re a seasoned gluten-free baker or simply want to try a new twist on a classic, these gluten-free peanut butter marshmallow cookies offer the perfect solution.
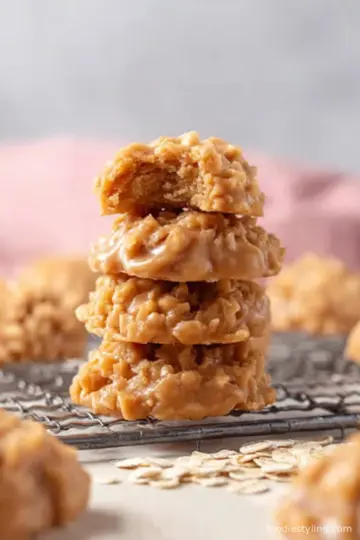
They’re simple to make, requiring only a few accessible ingredients, yet the result is a soft, chewy cookie with bursts of marshmallow in every bite. These cookies are ideal for family gatherings, holidays, bake sales, or as an after-school treat.
Baking gluten-free doesn’t mean sacrificing flavor or texture, and this recipe is a testament to that. Let’s explore how to create these incredibly tasty cookies and bring joy to every gluten-free (and gluten-loving!) cookie enthusiast at your table.
Ingredients
- 1 ¼ cups gluten-free flour (or substitute all-purpose flour if desired)
- 1 teaspoon baking soda
- ½ teaspoon sea salt
- ½ cup unsalted butter, softened
- ½ cup granulated sugar
- ¾ cup brown sugar, packed
- ¾ cup creamy peanut butter
- 1 large egg
- 2 teaspoons vanilla extract
- 1 ¼ cups mini marshmallows, frozen
Instructions
- Begin by preparing the mini marshmallows: place 1 ¼ cups of mini marshmallows into an airtight container and set them in your freezer for several hours prior to baking. Chilling the marshmallows helps keep them intact during baking, resulting in gooier pockets within your cookies.
- When you’re ready to bake, preheat your oven to 350°F (175°C). Allow the oven to preheat fully to ensure even, consistent baking.
- In a medium mixing bowl, combine the gluten-free flour, baking soda, and sea salt. Whisk until the ingredients are well blended, which helps evenly distribute the leavening agent and salt throughout the dough for consistent texture and flavor.
- In a larger bowl, add the softened butter, granulated sugar, and packed brown sugar. Using a hand mixer, beat the mixture on medium speed until creamy and thoroughly combined. Properly creaming the butter and sugars creates a softer, lighter cookie.
- Add the creamy peanut butter, one large egg, and vanilla extract to the butter-sugar mixture. Continue mixing until all the wet ingredients are fully incorporated and the batter appears smooth.
- Quickly retrieve the frozen mini marshmallows from the freezer. Gently fold them into the wet ingredients by hand. Work efficiently so the marshmallows stay cold—this prevents them from melting too quickly during baking and gives the cookies their signature chewy texture.
- Add the dry flour mixture into the bowl with the wet ingredients. Mix until a cohesive dough forms, being careful not to over-mix, as this can make the cookies tough. The dough should be slightly soft and easy to scoop but not sticky.
- Allow the dough to rest for a few minutes. While resting, line a baking sheet with parchment paper for easy cleanup and to prevent sticking.
- Use a large cookie scoop (about 2-3 tablespoons per cookie) to portion out dough balls and place them evenly spaced, about 1 to 2 inches apart, onto the prepared baking sheet. If you don’t have a cookie scoop, a regular spoon will work as well.
- Slide the baking sheet into the preheated oven and bake for 10 to 11 minutes. Watch for the cookies to be set around the edges but still slightly soft in the center—the marshmallows will puff up and create gooey pockets.
- Once the baking time is complete, remove the cookies from the oven and allow them to cool on the baking sheet for at least 10 minutes. The residual heat will finish baking the centers and firm up the cookies without overbaking them.
- After cooling, transfer the cookies to a wire rack or serving plate. Enjoy them fresh, and store any leftovers in an airtight container in the refrigerator for up to one week to maintain freshness and texture.
Nutritional Information
These gluten-free peanut butter marshmallow cookies provide a delightful balance of flavor and satisfaction, but it’s helpful to understand their nutritional profile to enjoy them mindfully. Each cookie (based on 24 cookies per batch) contains approximately 140-160 calories, depending on portion size.
The combination of creamy peanut butter and real butter offers a source of healthy fats and contributes to the cookies’ soft texture, while two types of sugar provide the characteristic sweetness and perfect chewiness.
Each cookie supplies about 2-3 grams of protein primarily from the peanut butter and egg, which helps balance the carbohydrate content. Expect around 6-8 grams of sugar per cookie, accounting for both the granulated and brown sugars as well as the marshmallows.
Gluten-free flour blends now offer similar fiber and nutrient content to traditional flour, often providing additional vitamins like B6 and minerals such as iron. The use of mini marshmallows adds a small dose of added sugars but also creates enticing pockets of gooey sweetness.
These cookies contain modest levels of sodium from the baking soda and sea salt, making them flavorful without being salty. They are naturally gluten-free if a gluten-free flour blend is used, making them suitable for people with celiac disease or gluten intolerance.
To reduce calories, you can make smaller cookies or experiment with lowering the sugar content slightly, but for the best classic flavor and texture, it’s advisable to follow the recipe as written.
Enjoy these delicious homemade cookies as part of a balanced diet and savor the unique taste they bring to your gluten-free baking repertoire.
Wine and Beverage Pairings
The rich, nutty flavor profile of gluten-free peanut butter marshmallow cookies pairs wonderfully with a variety of beverages. For a classic and comforting combination, serve these cookies with a cold glass of milk—dairy or plant-based—enhancing both the creamy and sweet elements.
If you prefer something warm, black tea or lightly sweetened chai offers a gentle spice that contrasts nicely with the cookies’ sweetness. Robust coffee or espresso cuts through the richness and adds a delicious adult-friendly pairing.
For a dessert wine, try a late-harvest Riesling or a sweet Moscato, both of which bring out the toasted marshmallow notes in the cookies. For a kid-friendly drink, hot chocolate or a vanilla-flavored milk makes a delightful pairing, especially during colder months.
Each of these options complements the chewy, sweet, and nutty flavors of your cookies, making snack time or dessert extra special.
Cooking Tips and Variations
Baking perfect gluten-free peanut butter marshmallow cookies is simpler than it seems, but a few tips can make your batch truly outstanding. First, always freeze your mini marshmallows before incorporating them into the dough—this crucial step preserves their structure while baking, preventing them from dissolving too quickly into the cookie.
Softening your butter at room temperature allows it to blend more evenly with the sugars and creates a fluffier dough. When mixing the dough, avoid over-beating after adding the flour; excessive mixing can result in dense cookies.
If you find that your dough is too soft (especially in warmer climates), consider refrigerating it for 15-20 minutes before scooping, which makes it easier to handle and helps cookies keep their shape.
For added texture or flavor, feel free to stir in a handful of gluten-free chocolate chips or chopped peanuts. If you prefer smaller cookies, use a medium or small cookie scoop and adjust the baking time by a minute or two less.
For a festive twist, you can gently press extra marshmallows into the tops of each dough ball before baking. To ensure uniform baking, rotate the baking sheet halfway through the cooking process. Lastly, storing leftovers in an airtight container in the refrigerator will preserve their chewiness for days.
With these simple tips and optional tweaks, your batch of gluten-free peanut butter marshmallow cookies will be bakery-worthy and sure to impress your friends and family.

Serving Suggestions
Gluten-free peanut butter marshmallow cookies are versatile and perfect for numerous occasions and presentations. For a cozy family gathering, arrange them on a vintage-style platter with fresh berries and marshmallows on the side for added color and texture.
They make delightful additions to holiday cookie platters, especially when paired with chocolate-dipped treats or festive sprinkles for a celebratory feel. Serve them warm, right out of the oven, alongside scoops of vanilla or chocolate ice cream for a decadent dessert experience.
For children’s birthdays or special parties, present the cookies with bowls of flavored milk or homemade hot cocoa for dipping. These cookies also travel well, making them excellent choices for bake sales, school lunches, or workplace celebrations.
For an elegant dessert presentation, stack cookies on a tiered cake stand and garnish each layer with a light dusting of powdered sugar or crushed peanuts. You can even turn them into ice cream sandwiches or crumble them over yogurt parfaits for a creative twist.
No matter how you choose to serve these gluten-free peanut butter marshmallow cookies, their chewy texture and gooey marshmallow centers are sure to be a hit with every age group and at every gathering.
Health Benefits
These gluten-free peanut butter marshmallow cookies have several health-conscious features worth noting. By using a gluten-free flour blend, they are appropriate for individuals with gluten sensitivity, celiac disease, or anyone avoiding gluten for other health reasons.
Peanut butter, the star ingredient, is a source of plant-based protein and heart-healthy unsaturated fats, which promote satiety and can assist in maintaining balanced blood sugar levels. Eggs provide additional protein and essential amino acids, contributing to the cookies’ nutritional profile.
Butter, while high in saturated fats, is used in a modest amount and contributes to the overall flavor and aeration of the dough. The use of both brown and granulated sugar ensures sweetness, but the total sugar content per serving is in line with most classic cookie recipes.
Sea salt enhances flavor, allowing you to use less sugar without sacrificing depth. Marshmallows, though a source of added sugars, are used in moderation for special treat appeal.
Compared to store-bought cookies, these homemade treats allow you to control the quality of ingredients, avoid preservatives, and make mindful ingredient swaps if desired. For those with specific dietary needs, this recipe is a safer, wholesome alternative and a great introduction to gluten-free baking for everyone.
Frequently Asked Questions
Yes, you can substitute peanut butter with almond butter, cashew butter, or sunflower seed butter if you have allergies or dietary preferences. Each option will slightly change the cookie’s flavor and texture, but all work well in this gluten-free recipe.
Freezing your mini marshmallows before mixing them into the dough is essential. This prevents them from melting quickly in the oven, helping create chewy, gooey pockets throughout the cookies rather than dissolving into the batter.
While not strictly necessary, chilling the dough for about 15–20 minutes can make it easier to scoop and help the cookies maintain their shape during baking, especially in warmer environments.
Store cooled cookies in an airtight container in the refrigerator to keep them chewy and fresh. They will last up to one week. For longer storage, you can freeze the cookies for several months.
Yes, the recipe works well with all-purpose flour as a direct substitute if you don’t require a gluten-free cookie. The texture and flavor will remain delicious.
Gluten-free peanut butter marshmallow cookies are a delightful and crowd-pleasing treat that combines the classic comfort of peanut butter with the irresistible chew of marshmallows. Their easy-to-follow recipe makes them accessible for both novice and experienced bakers, and their naturally gluten-free profile ensures everyone at your table can enjoy a safe, homemade dessert. Whether you’re baking for a special event, family gathering, or simply to satisfy a sweet tooth, these cookies deliver a perfect balance of taste and texture in every bite. Experiment with serving and variation ideas to put your unique stamp on each batch, and feel free to bask in the compliments from happy cookie lovers of all ages.
Ingredients
- 1 ¼ cups gluten-free flour (or substitute all-purpose flour if desired)
- 1 teaspoon baking soda
- ½ teaspoon sea salt
- ½ cup unsalted butter, softened
- ½ cup granulated sugar
- ¾ cup brown sugar, packed
- ¾ cup creamy peanut butter
- 1 large egg
- 2 teaspoons vanilla extract
- 1 ¼ cups mini marshmallows, frozen
Instructions
-
1Begin by preparing the mini marshmallows: place 1 ¼ cups of mini marshmallows into an airtight container and set them in your freezer for several hours prior to baking. Chilling the marshmallows helps keep them intact during baking, resulting in gooier pockets within your cookies.
-
2When you’re ready to bake, preheat your oven to 350°F (175°C). Allow the oven to preheat fully to ensure even, consistent baking.
-
3In a medium mixing bowl, combine the gluten-free flour, baking soda, and sea salt. Whisk until the ingredients are well blended, which helps evenly distribute the leavening agent and salt throughout the dough for consistent texture and flavor.
-
4In a larger bowl, add the softened butter, granulated sugar, and packed brown sugar. Using a hand mixer, beat the mixture on medium speed until creamy and thoroughly combined. Properly creaming the butter and sugars creates a softer, lighter cookie.
-
5Add the creamy peanut butter, one large egg, and vanilla extract to the butter-sugar mixture. Continue mixing until all the wet ingredients are fully incorporated and the batter appears smooth.
-
6Quickly retrieve the frozen mini marshmallows from the freezer. Gently fold them into the wet ingredients by hand. Work efficiently so the marshmallows stay cold—this prevents them from melting too quickly during baking and gives the cookies their signature chewy texture.
-
7Add the dry flour mixture into the bowl with the wet ingredients. Mix until a cohesive dough forms, being careful not to over-mix, as this can make the cookies tough. The dough should be slightly soft and easy to scoop but not sticky.
-
8Allow the dough to rest for a few minutes. While resting, line a baking sheet with parchment paper for easy cleanup and to prevent sticking.
-
9Use a large cookie scoop (about 2-3 tablespoons per cookie) to portion out dough balls and place them evenly spaced, about 1 to 2 inches apart, onto the prepared baking sheet. If you don’t have a cookie scoop, a regular spoon will work as well.
-
10Slide the baking sheet into the preheated oven and bake for 10 to 11 minutes. Watch for the cookies to be set around the edges but still slightly soft in the center—the marshmallows will puff up and create gooey pockets.
-
11Once the baking time is complete, remove the cookies from the oven and allow them to cool on the baking sheet for at least 10 minutes. The residual heat will finish baking the centers and firm up the cookies without overbaking them.
-
12After cooling, transfer the cookies to a wire rack or serving plate. Enjoy them fresh, and store any leftovers in an airtight container in the refrigerator for up to one week to maintain freshness and texture.
Approximate Information for One Serving
Nutrition Disclaimers
Number of total servings shown is approximate. Actual number of servings will depend on your preferred portion sizes.
Nutritional values shown are general guidelines and reflect information for 1 serving using the ingredients listed, not including any optional ingredients. Actual macros may vary slightly depending on specific brands and types of ingredients used.
To determine the weight of one serving, prepare the recipe as instructed. Weigh the finished recipe, then divide the weight of the finished recipe (not including the weight of the container the food is in) by the desired number of servings. Result will be the weight of one serving.
Did you make this recipe?
Please consider Pinning it!